7 Best Elevator Guide Rail Brackets for Global Buyers

7 Best Elevator Guide Rail Brackets for Global Buyers

Choosing an Elevator Guide Rail Bracket is a small decision with visible consequences. At the machine room, a bracket may look like a simple steel support. On site, fit, rigidity, surface protection, and mounting accuracy all matter. A poorly matched bracket can complicate installation and make alignment harder to maintain. Buyers should compare rail compatibility, material, finish, hole pattern, load requirements, and available technical documentation.

This guide reviews seven bracket options for global buyers. It focuses on practical differences, not just catalog language. Check dimensions against the rail and building design. Inspect welds and coating details. Ask suppliers about tolerances, traceability, and inspection records. These details are easy to overlook. They are also difficult to fix after installation.

A verified quotation from a named Elevator Guide Rail Bracket specialist was not supplied, so I will not invent one or attribute unverified words to an expert. That gap deserves attention. Product claims should be checked against drawings, test records, and project requirements. The best choice is not always the heaviest or cheapest bracket. It is the one that fits the application, arrives with reliable documentation, and can be installed consistently. Global sourcing adds another layer: packaging, communication, and replacement-part availability may affect the project as much as the bracket itself.
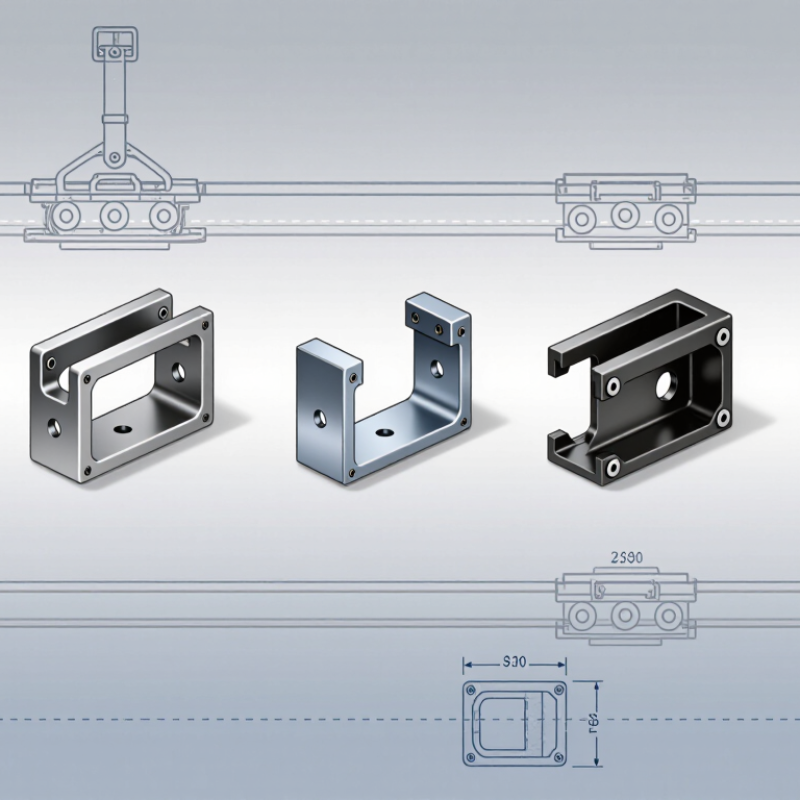
7 Best Elevator Guide Rail Brackets for Global Buyers

What Elevator Guide Rail Brackets Do and Where They Are Used

Elevator guide rail brackets connect the vertical guide rails to a building’s hoistway structure. They keep each rail aligned as elevator cars and counterweights move, while transferring horizontal forces into the shaft wall. They do not carry the elevator’s full suspended load. Still, poor positioning can cause rail misalignment, vibration, or uneven travel. Small steel parts, with a demanding job.

Bracket assemblies are used in residential towers, offices, hospitals, hotels, and industrial buildings with freight elevators. CTBUH’s 2023 Year in Review recorded 202 buildings of at least 200 meters completed worldwide that year, highlighting the varied shaft conditions found in tall construction. Bracket type and spacing depend on rail dimensions, wall construction, expected forces, and installation tolerances. ISO 8100-1:2019 sets safety requirements for elevator construction and installation; bracket selection must fit the complete engineered system, not just the rail. This is easy to underestimate. On site, a bracket may need to meet a concrete wall with uneven surfaces, so installers check alignment before final tightening. For replacements or retrofits, existing anchors and wall condition also need careful assessment. A neat-looking rail is not proof of a sound fixing.

7 Best Elevator Guide Rail Brackets for Global Buyers: What They Do and Where They Are Used

Guide rail brackets secure elevator car and counterweight guide rails to the hoistway structure. This chart compares nominal base widths indicated by common T-section rail designations; it does not show bracket dimensions or load ratings. Bracket selection and spacing must match the rail profile, building structure, applicable standards, and project engineering.

How Bracket Design Supports Rail Alignment and Load Transfer

An elevator guide rail bracket does more than hold steel against a shaft wall. It keeps the rail line steady and transfers lateral forces into the building structure. Small errors matter. A bracket mounted slightly out of plane can create uneven clearances, extra friction, and vibration as the car passes. Installers should check the rail face with a plumb line or laser, then confirm bracket spacing and anchor seating against the project drawings.

ISO 7465:2007 specifies T-type guide rail profiles, including T70/A, T89/B, and T114/B. These profiles differ in section size, so bracket selection must match the rail and its calculated loads—not just its visible shape. EN 81-20 and EN 81-50 set safety and verification requirements for lift construction and components; they do not provide one universal bracket capacity for every shaft. Engineers must account for car and counterweight reactions, building substrate, fastener capacity, and installation tolerances. The load path matters. A rigid bracket can still underperform if the concrete anchor is poorly seated or the wall is irregular. Site conditions are messier than drawings suggest, so measured alignment and documented checks deserve more attention.

7 Best Elevator Guide Rail Brackets for Global Buyers - How Bracket Design Supports Rail Alignment and Load Transfer

Bracket Design Typical Configuration Alignment Support Load-Transfer Path Common Application Key Selection Check
1. Standard wall-mounted angle bracket Steel angle or formed plate fixed to a concrete or masonry wall; rail is secured with compatible clips or fasteners. Provides a direct mounting point; shims or approved adjustment features can help correct local spacing and plumb. Guide rail → rail fastener → bracket → wall anchors → building structure. Conventional hoistways with a suitable structural wall close to the rail line. Confirm substrate strength, anchor design, bracket spacing, corrosion protection, and project-specific loads.
2. Slotted adjustable bracket Bracket with slotted holes or an adjustable connection between the wall plate and rail support. Offers installation tolerance for setting rail position and correcting variations in the wall or support face. Loads pass through the bracket plates and fasteners; the connection must be secured against slip after adjustment. Projects where the structural face is uneven or precise rail positioning requires field adjustment. Check adjustment range, slot orientation, washer or locking details, and the effect of slots on connection capacity.
3. Cantilever bracket Projecting support arm fixed to a wall, column, or structural frame. Positions the rail away from the supporting face; careful setting is needed to control bracket deflection and rail alignment. Rail forces create bending and shear in the arm, which transfer through the bracket base and anchors to the structure. Hoistways where the rail line is offset from the available structural support. Verify projection length, bracket stiffness, anchor-group design, and allowable deflection for the specified loads.
4. Twin-arm or paired-rail bracket A common support arrangement with two arms or connection points for nearby guide rails, where the system design permits. Can help maintain a coordinated position between paired rails when both support points are accurately set. Each rail transfers load through its own fastening point; the shared support must carry the combined effects specified by the design. Layouts with adjacent rails and a structural support arrangement designed for a shared bracket. Check rail spacing, combined loading, torsional effects, and whether each rail has the required independent restraint.
5. Embedded-plate bracket Bracket bolted or welded to a steel plate cast into a concrete wall or other structural element. Provides a fixed support interface; accurate placement of the embedded plate is important before the structure is completed. Rail → bracket → embedded plate and its anchors or reinforcement → concrete structure. New construction where embedded supports can be coordinated with structural work. Coordinate plate location, weld or bolt details, concrete design, reinforcement, and inspection requirements.
6. Structural-column clamp bracket Bolted clamp or plate assembly attached to a suitable steel column or frame without relying on a wall face. Allows rail positioning relative to the column; installation must avoid unintended movement or damage to the supporting member. Rail forces transfer through the bracket and clamp bolts into the column or frame. Steel-framed buildings or hoistways where an accessible, verified structural member is available. Verify member capacity, bolt arrangement, clamp slip resistance, local flange or web effects, and access for tightening.
7. Seismic-restraint bracket Bracket or restraint assembly designed as part of the project’s seismic support strategy. Maintains the specified rail restraint and clearances while accommodating movements required by the seismic design. Transfers defined lateral or other design forces from the rail into the supporting structure through the restraint connection. Projects subject to seismic requirements or other specified structural movement criteria. Use project-engineered details; check applicable codes, required movement, clearances, connections, and interaction with the elevator system.

Selection note: Bracket geometry, rail-fastening details, spacing, materials, and connection capacities should be verified against the elevator system design, structural drawings, applicable codes, and the project’s specified loads.

Key Types of Elevator Guide Rail Brackets for Different Installations

Guide rail brackets do more than hold a rail in place. They transfer lateral forces into the building structure, so the right type depends on shaft construction, rail spacing, and calculated loads. Wall-mounted brackets suit concrete or masonry shafts with suitable fixing points. Beam-mounted brackets work where steel framing provides the support. For uneven shaft faces, slotted or adjustable brackets help installers align rails without forcing the rail into position.

Heavy-duty brackets may be specified for higher loads or longer support spans, but “heavier” is not automatically safer. Bracket capacity, anchor type, rail dimensions, and spacing must be checked together against the elevator design and applicable standards. Small alignment errors matter. A rail that looks straight from the landing may still need careful checks along the full shaft.

CTBUH’s 2023 Year in Review recorded 202 buildings of at least 200 metres completed worldwide that year. That scale of construction highlights why bracket selection must suit varied structures, not just standard concrete shafts. For each installation, review structural drawings, fixing details, corrosion exposure, and installation access before ordering.

A neat drawing can still mislead. Field measurements may reveal offsets, weak fixing zones, or a beam that sits differently than expected.

Seven Guide Rail Bracket Options for Global Elevator Buyers

Global elevator buyers can compare seven guide rail bracket options: fixed-angle steel, slotted adjustable, reinforced heavy-duty, stainless steel, hot-dip galvanized, low-profile retrofit, and custom-engineered brackets. Each suits different shaft conditions. Fixed brackets work well when rail alignment is consistent. Slotted designs allow small corrections during installation. Heavy-duty versions add stiffness where loads or spacing require closer review. Fit matters.

Material choice depends on moisture, cleaning routines, and expected service life. Stainless steel can suit corrosive environments, while galvanized steel offers a practical protective coating in many settings. A low-profile bracket may help in a tight shaft, but clearance must be checked on site. Custom designs can solve unusual fixing conditions; they also need careful engineering review. No option wins everywhere.

The IEA’s 2023 Global Status Report for Buildings and Construction reports that buildings and construction accounted for 34% of global energy demand and 37% of energy- and process-related CO2 emissions in 2022. These figures do not measure bracket performance, but they underline why durable building components and maintainable systems matter. Buyers should check rail compatibility, fixing substrate, load requirements, corrosion exposure, and installation tolerances against project specifications and relevant standards. A detail is easy to miss: even a strong bracket can perform poorly if the anchors or shaft surface are unsuitable. Verify the full assembly, not just the bracket itself.

How to Compare Brackets by Compatibility, Materials, and Standards

Elevator guide rail brackets are not interchangeable just because they look similar. Compare the rail profile, bracket opening, hole spacing, and fastener size against the approved drawings. Check the required load and mounting surface, too. A bracket for a concrete shaft may not suit a steel frame. Small measurement errors can shift the rail and complicate installation.

Material choice depends on the environment and maintenance plan. Coated steel can suit many indoor shafts, while damp or corrosive conditions may call for a more corrosion-resistant specification. Review material grades, coating details, and traceable inspection records. Standards and acceptance requirements vary by project and location, so confirm the applicable documents with the elevator designer or qualified engineer. A tidy datasheet helps, but it does not replace a compatibility check. I have seen this step treated as routine; that is easy to regret.

Tips: Measure the rail and mounting points on site, then compare them with the bracket drawing. Ask for load data, material details, and relevant compliance documents. Keep samples or clear photographs for review. If dimensions remain uncertain, pause before ordering. A quick check now can prevent rework later.