How to Choose the Best Limestone Veneer for Your Project?
Choosing the best limestone veneer begins with understanding your project, not chasing the lowest price. A façade, fireplace, garden wall, or interior feature each faces different demands. Sunlight, moisture, freezing temperatures, and cleaning methods can change the stone’s performance. Limestone veneer should match both the building’s style and its environment.
Experienced masons usually examine color variation, thickness, porosity, edge quality, and installation requirements. Ask suppliers for quarry information, technical data, sample pieces, and maintenance guidance. A reliable supplier should explain how the material performs, not simply describe its appearance. Check whether the veneer meets relevant building standards and whether trained installers are available locally. Small details matter. For example, a pale surface may reflect heat beautifully, yet absorb stains near an outdoor kitchen.
Samples help, but they can mislead. One small piece cannot show the full range of natural variation. Request several pieces from different parts of the same batch. Place them outdoors, beside your mortar, and under morning and evening light. This simple test can reveal unexpected undertones. It may also expose a weak assumption in your original design.
Budget deserves careful attention. Include delivery, corner pieces, fasteners, mortar, sealing, labor, and future cleaning. Cutting costs on preparation can create expensive repairs later. Ask an architect, contractor, or certified installer to review the specification before ordering. Their practical judgment can identify drainage problems, unsuitable fixing methods, or unrealistic color expectations. The most attractive limestone veneer is not always the best choice. The right material balances beauty, durability, local climate, verified quality, and long-term care.
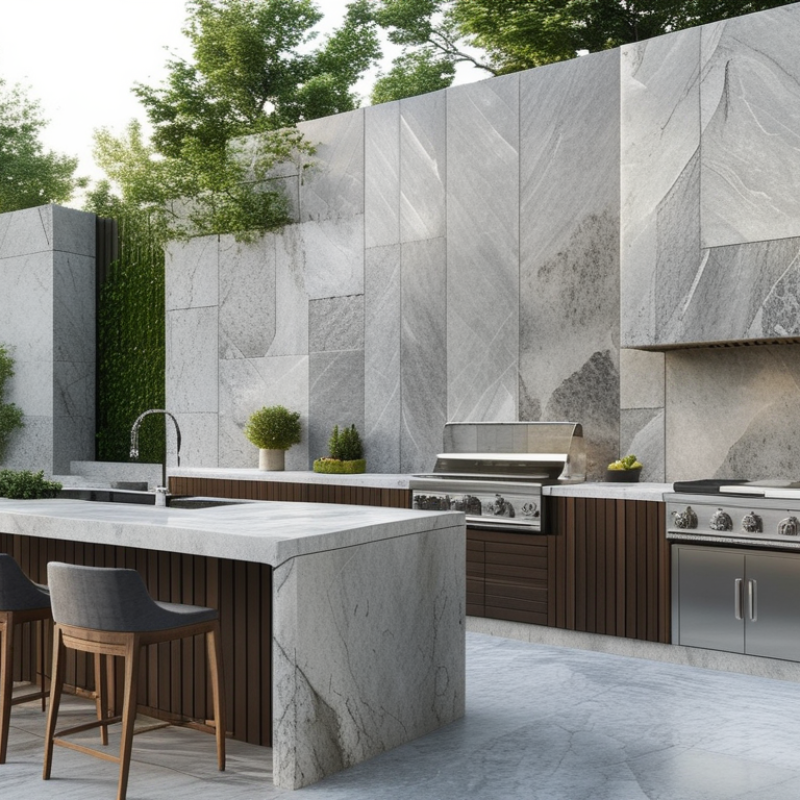
Define Loads, Climate, and Building Codes Before Choosing Limestone Veneer
How to Choose the Best Limestone Veneer for Your Project?
Define Loads, Climate, and Building Codes Before Choosing Limestone Veneer
Limestone selection should begin with the wall, not the color board. Identify wind pressure, seismic movement, impact exposure, and the veneer’s attachment method. A thin adhered veneer may suit a low-rise wall, while heavier panels often require engineered anchors and a supporting shelf. Ask a structural engineer to verify the substrate, fasteners, joints, and drainage path. Small mistakes become expensive behind finished stone.
Climate changes the decision. In freeze-thaw regions, choose limestone with documented absorption and durability testing. Coastal projects need careful detailing because salt can enter joints and accelerate staining. Intense sunlight may also alter darker finishes over time. Request samples, then inspect them after wetting. The surface can look surprisingly different.
Building codes deserve attention before purchase. Requirements may cover fire performance, veneer thickness, allowable height, flashing, movement joints, and attachment spacing. Confirm the current local provisions with the architect, contractor, and code official. Product data should include test methods, not only attractive performance claims. One overlooked detail is water management. Open joints, weeps, and properly lapped flashing help protect the wall assembly. I have seen beautiful stone fail because moisture had nowhere to escape. Even experienced teams can miss that. That possibility deserves a deliberate review.
How to Choose the Best Limestone Veneer for Your Project?
Define Loads, Climate, and Building Codes Before Choosing Limestone Veneer
The chart shows the minimum compressive-strength requirements for limestone categories defined by ASTM C568/C568M. Higher-density limestone generally provides greater resistance to structural and impact loads, while lower-absorption stone is typically more suitable for freeze-thaw exposure. Final veneer selection should also consider project-specific wind loads, moisture conditions, detailing, and applicable building codes.
Reference: ASTM C568/C568M, Standard Specification for Limestone Dimension Stone.
Compare ASTM C568 Classes: <1760, 1760–2160, and >2160 kg/m³
How to Choose the Best Limestone Veneer for Your Project?
ASTM C568 classifies limestone by density, giving designers a practical starting point. Class I contains limestone below 1760 kg/m³. It is often lighter and easier to handle, but may require careful placement in exposed conditions. Class II ranges from 1760 to 2160 kg/m³. This middle group can offer a useful balance between weight, durability, and installation demands. Class III exceeds 2160 kg/m³. Its tighter structure may suit heavy-use areas, severe weather, or projects needing greater resistance to abrasion.
Density is important, but it does not answer every question. I have seen specifications focus on one number while overlooking absorption, compressive strength, freeze-thaw performance, and finish. That approach feels efficient. It is also incomplete. Ask for current laboratory results from the actual quarry batch, not only a general product sheet. Compare water absorption and visible pore structure beside the density classification. A pale, honed sample can behave differently from a rough, heavily textured surface.
Consider the wall system too. A dense Class III stone can increase handling loads and anchoring requirements. A lower-density Class I stone may reduce weight, yet need stronger moisture detailing. Class II is not automatically the safest choice. It depends on climate, orientation, traffic, and maintenance access. Inspect full-size samples under daylight. Check corners, veining, and surface consistency. Small sample pieces can hide large variations. Recheck the decision after reviewing engineering data, installation details, and the site’s actual exposure.
How to Choose the Best Limestone Veneer for Your Project? - Compare ASTM C568 Classes: <1760, 1760–2160, and >2160 kg/m³
| ASTM C568 Class | Density Range | Maximum Water Absorption | Minimum Compressive Strength | Minimum Flexural Strength | Typical Performance Profile | Common Project Considerations |
Class I
Low Density | <1760 kg/m³ | 12.0% maximum | 12.4 MPa minimum | 2.8 MPa minimum | Lightweight and generally easier to cut, handle, and install; typically more porous than higher-density limestone. | Suitable where reduced weight and ease of installation are priorities, subject to suitable detailing, sealing, drainage, and exposure conditions. |
Class II
Medium Density | 1760–2160 kg/m³ | 7.5% maximum | 27.6 MPa minimum | 3.4 MPa minimum | Balanced combination of weight, strength, and moisture resistance for many general architectural applications. | A practical option for exterior veneer, façades, and moderate-traffic applications when the design includes proper anchorage and water management. |
Class III
High Density | >2160 kg/m³ | 3.0% maximum | 55.2 MPa minimum | 6.9 MPa minimum | Denser, stronger, and less absorbent; generally offers improved resistance to demanding service conditions. | Consider for high-exposure façades, heavy-use areas, freeze–thaw risk zones, and applications requiring greater strength, subject to project-specific testing. |
Selection note: ASTM C568 classifies limestone by density and establishes minimum physical-performance requirements. Final veneer selection should also consider climate, freeze–thaw exposure, stone thickness, panel size, anchorage, installation method, finish, color consistency, and project-specific testing. Values shown are metric conversions and commonly referenced ASTM C568 class requirements; verify the applicable edition and contract specifications before procurement.
Evaluate Water Absorption Using ASTM C97 and Freeze–Thaw Exposure Data
How to Choose the Best Limestone Veneer for Your Project?
Water absorption deserves close attention. ASTM C97/C97M measures absorption after 24 hours of water immersion. It also records bulk specific gravity and density. Ask for the complete laboratory report, not just one percentage. A low absorption value is reassuring, but it is not conclusive. Limestone can still contain weak layers, open bedding planes, or hidden microcracks.
Compare absorption results from several production samples. The Natural Stone Institute’s Dimension Stone Design Manual, 8th edition, treats absorption, density, and durability as separate selection factors. That distinction matters. Two limestones may show similar absorption yet perform differently outdoors. Review the reported sample size, test date, quarry location, and individual results. Average values can hide an outlier.
Freeze–thaw evidence should show the exposure method, cycle count, temperature range, and post-test changes. ASTM C666/C666M is widely used for repeated freezing and thawing evaluations, although the project specification must define acceptance limits. Look for cracking, scaling, mass loss, and strength reduction after exposure. The National Stone Institute recommends matching stone properties to climate and installation conditions. A test in dry laboratory air may not represent a wet façade in winter. That is the uncomfortable part. Real drainage, mortar joints, anchors, and shaded areas can change performance. Use the data, but question whether the test resembles the wall you will build.